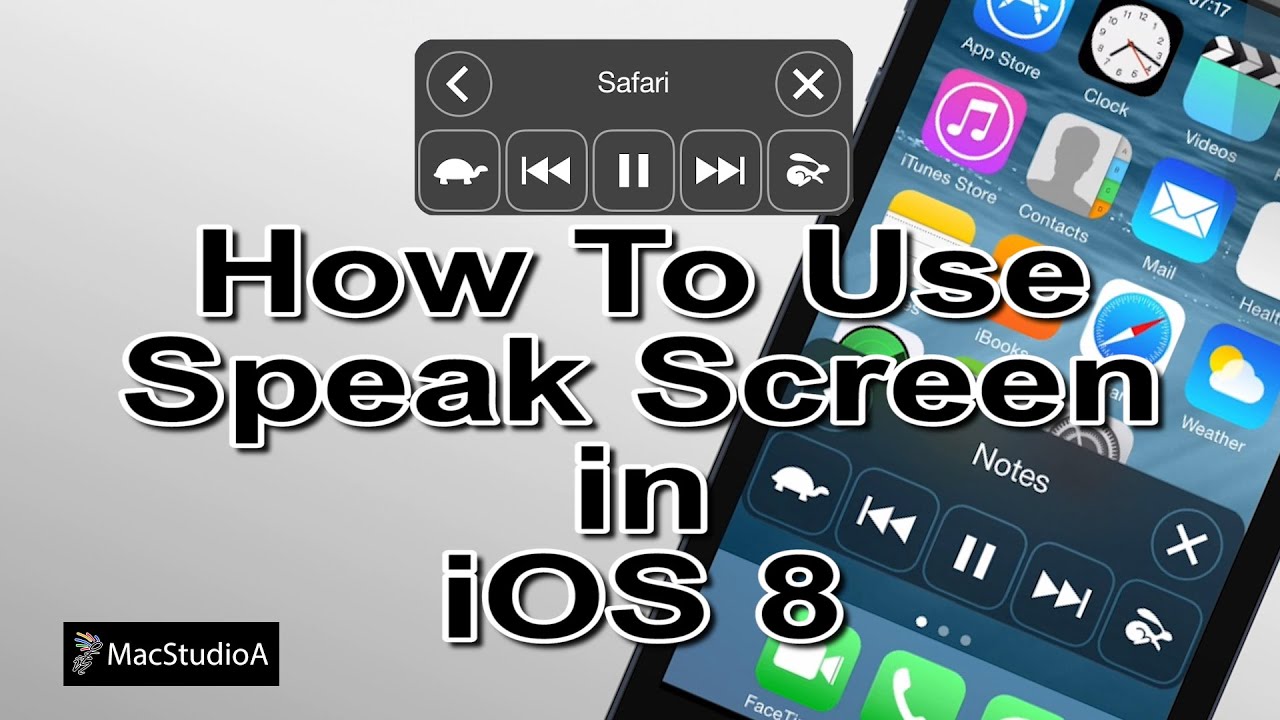
How To Use Speak Screen in iOS 8. How To Enable and Use Speak Screen in iOS 8. How to Use iOS 8's Speak Screen Feature. Activate Speak Screen on iPhone, iPad, or iPod touch Using iOS 8. SUBSCRIBE for More Videos Like This:http://goo.gl/88PNgx My MAIN Camera: https://amzn.to/2OBWusS External Dummy Battery for Camera: https://amzn.to/2RLgNGr Backup Power Bank I use: https://amzn.to/2RLe8MX ND Filter I use: https://amzn.to/2OyY8eI The Camera Mic I use: https://amzn.to/2JRjK5s My Lapel Mic: https://amzn.to/2JSE4mQ Must have Gadget for Recording HDMI Output: https://amzn.to/2Dslv93 Get those crisp overhead shots with this tripod: https://amzn.to/2PIOcnV Versatile Super Tripod Clamp: https://amzn.to/2DvXPk2 Mini Tripod I use: https://amzn.to/2PNePrx My iPhone Tripod Mount: https://amzn.to/2DvD8Vh LED Spot Lighting I use: https://amzn.to/2JSDZjd LED Wide Angle Lighting: https://amzn.to/2Dvuu9w My Scenery LED Kit: https://amzn.to/2DtVjKZ My Storage Devices For Video Editing SSD: https://amzn.to/2PMRhTD USB 3.0 SSD External Enclosure I use: https://amzn.to/2DvDoUf USB 3.0 Flash Drive I use: https://amzn.to/2SXu4wU My High Speed Camera Card: https://amzn.to/2Fanhxe External Storage Drive I use USB Version: https://amzn.to/2JUlWta External Storage Drive Thunderbolt & USB Version: https://amzn.to/2RIZ82c Recommended Gear: RAID Thunderbolt 3 External Hard Drive: https://amzn.to/2POl2Ul 2TB Thunderbolt and USB 3.0 Portable Hard Drive: https://amzn.to/2DvLX1u 4TB USB-C and USB 3.0 Portable Hard Drive: https://amzn.to/2JRzF3N 5TB Rugged Thunderbolt / USB-C Mobile Drive: https://amzn.to/2PNfzwP Variable Friction Magic Arm: https://amzn.to/2qEhJ3S Rode VideoMic Pro Plus: https://amzn.to/2yZ1Tp0 Follow me on: http://instagram.com/sergesiou https://twitter.com/SergeSiou Tested On: iPhone 5s using iOS 8.1.3 Created On a MacBook Air (13-inch, Mid 2012) using OS X Yosemite 10.10.1 TRANSCRIPT: /2015/02/how-to-use-speak-screen-in-ios-8.html In this episode, How To Use Speak Screen in iOS 8 A cool feature introduced in iOS 8 for the iPhone, iPad, or iPod touch, is the Speak Screen feature. Where the entire text-contents on the screen, is read back to you after swiping down with two-fingers from the top to bottom of the screen. Better still, Speak Screen can also be activated in Siri, by saying the following phrase: “Speak Screen”. Onwards with a demo to show how it’s done. Sooooooo, Let's Get Started. Go to Settings...General...Accessibility…Speech… Then; activate Speak Screen by sliding the button to the right, as shown. Whilst on the Speech window, you might want to choose a different voice instead of the default. In this demo, Apple’s natural sounding, speech synthesized American English voice was downloaded and used. It should be noted, you’ll only have the option to download the Alex voice, provided you have one of the following devices listed here. After selecting an optional voice, open any app containing texts and simply swipe down from the top to bottom of screen, or activate Siri and say the phrase “Speak Screen” to have the contents read to you. Furthermore; you can use others apps while Speak Screen is active. The Speak Screen Control Panel can be moved, minimized, or maximized. Use the Control Panel to adjust the speaking rate, move forward or backwards to the next paragraph, pause, play or close Speak Screen entirely, as shown here. And that’s all there is to it. Thanks for watching and thumbs-up if you liked this video, and please, don't forget to subscribe to be notified of the next episode. Thanks and Peace.
Using Speak Screen in iOS 8 - YouTube |
| 120 Likes | 120 Dislikes |
| 16,108 views views | 5,549 followers |
| Science & Technology | Upload TimePublished on 19 Feb 2015 |
Không có nhận xét nào:
Đăng nhận xét